Module Project

Class Assignment
Distance
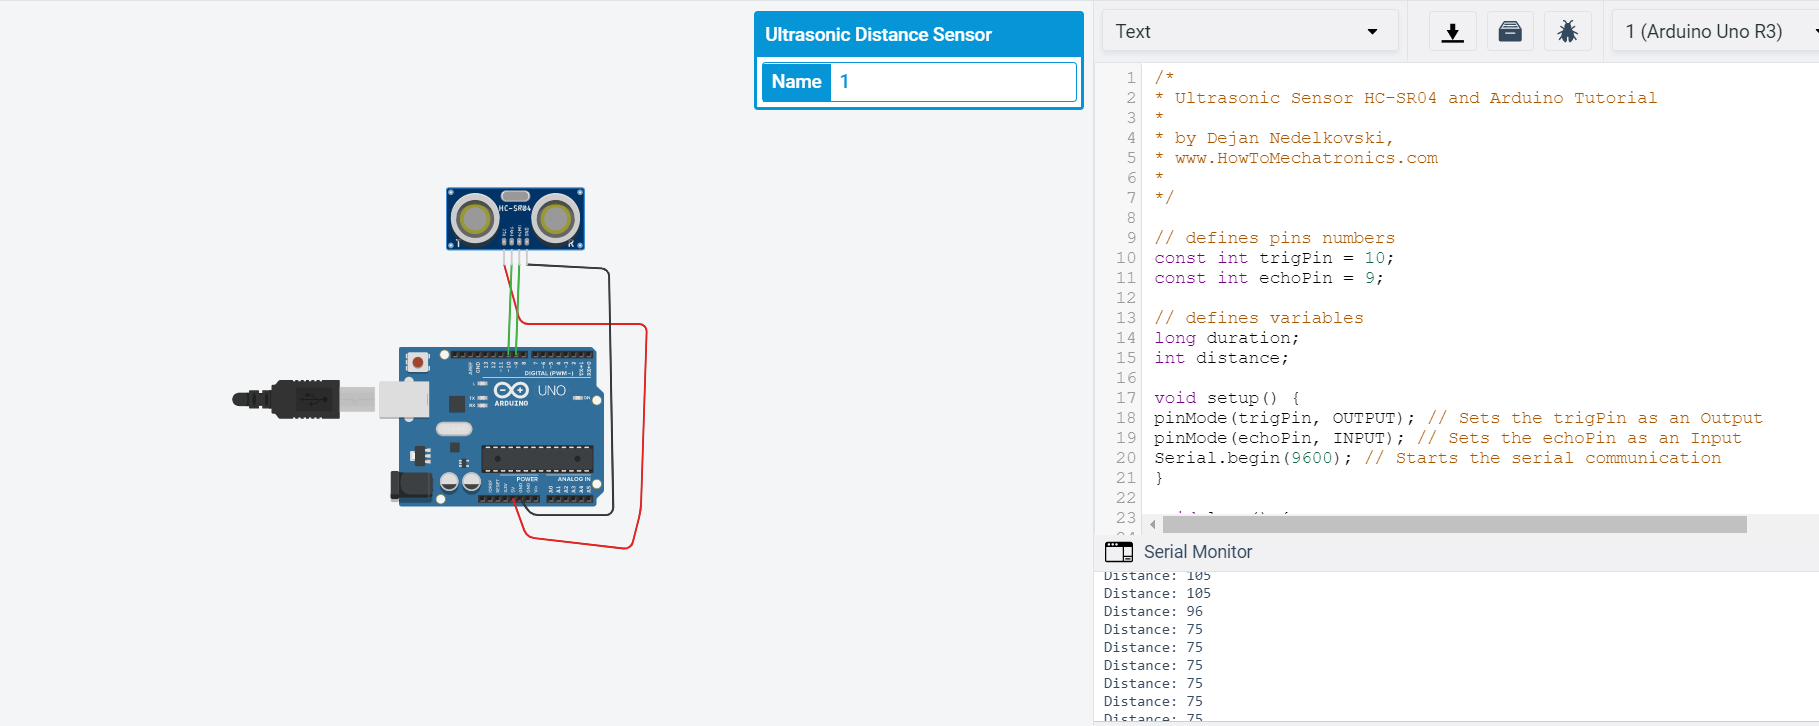

This assignment that my lecturer gave is using the Ultrasonic Sensor HC-SR04. Basically we use sound wave to measure distance. It emits an ultrasound at 40 000 Hz which travels through the air and if there is an object or obstacle on its path It will bounce back to the module. Considering the travel time and the speed of the sound you can calculate the distance.
The HC-SR04 Ultrasonic Module has 4 pins, Ground, VCC, Trig and Echo. The Ground and the VCC pins of the module needs to be connected to the Ground and the 5 volts pins on the Arduino Board respectively and the trig and echo pins to any Digital I/O pin on the Arduino Board.
One of the website i found regarding using the Ultrasonic Sensor is here.
Temperature
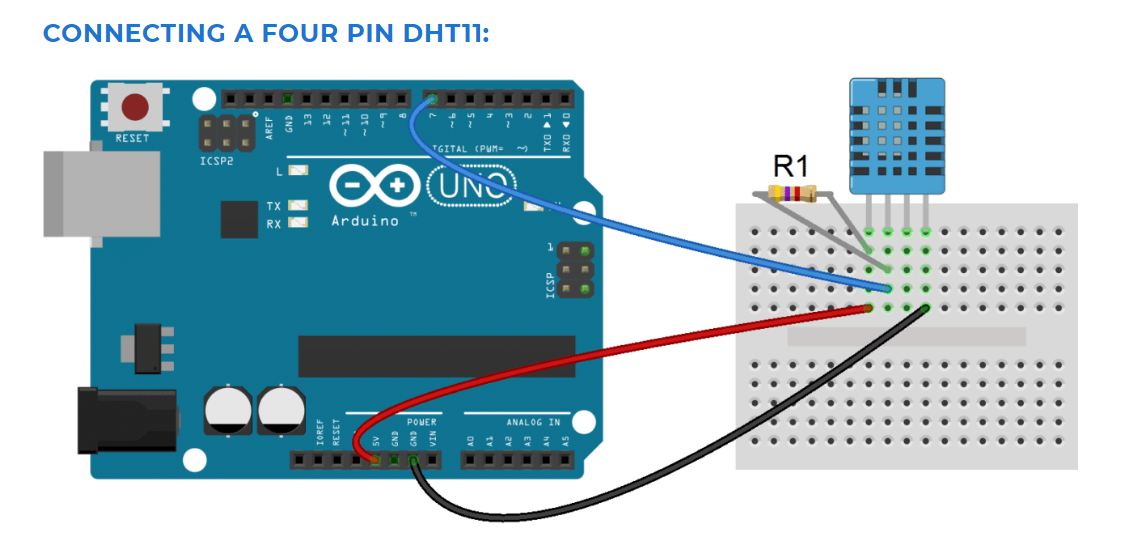
The DHT11 humidity and temperature sensor makes it really easy to add humidity and temperature data to your DIY electronics projects. It’s perfect for remote weather stations, home environmental control systems, and farm or garden monitoring systems. The DHT11 measures relative humidity. Relative humidity is the amount of water vapor in air vs. the saturation point of water vapor in air. At the saturation point, water vapor starts to condense and accumulate on surfaces forming dew. The DHT11 detects water vapor by measuring the electrical resistance between two electrodes. The humidity sensing component is a moisture holding substrate with electrodes applied to the surface. When water vapor is absorbed by the substrate, ions are released by the substrate which increases the conductivity between the electrodes. The change in resistance between the two electrodes is proportional to the relative humidity. Higher relative humidity decreases the resistance between the electrodes, while lower relative humidity increases the resistance between the electrodes.
For the tutorial, you can press here.
LCD
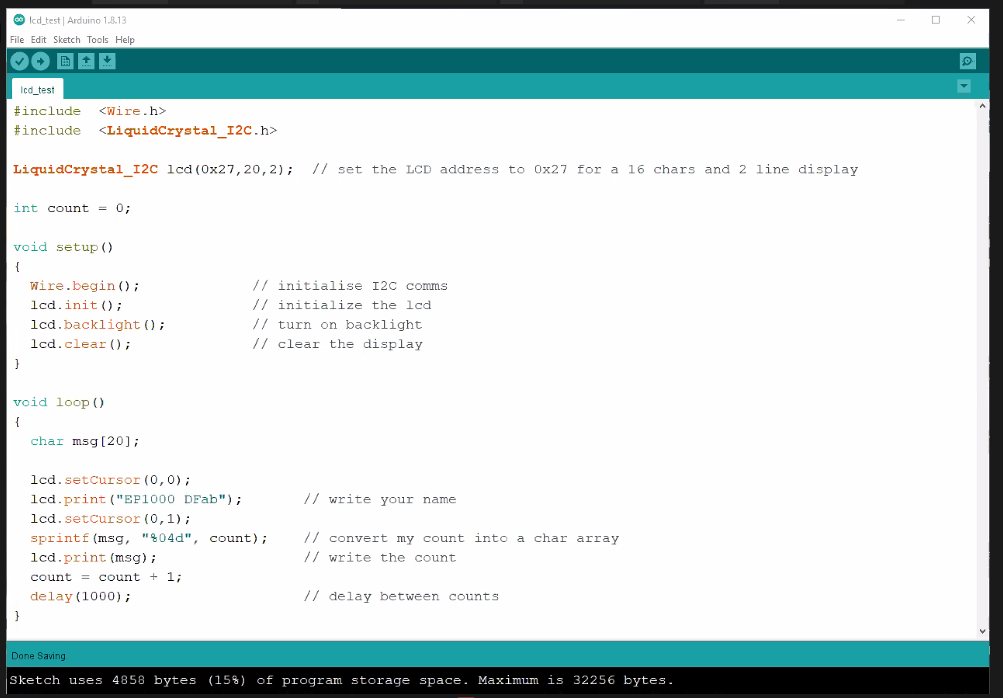
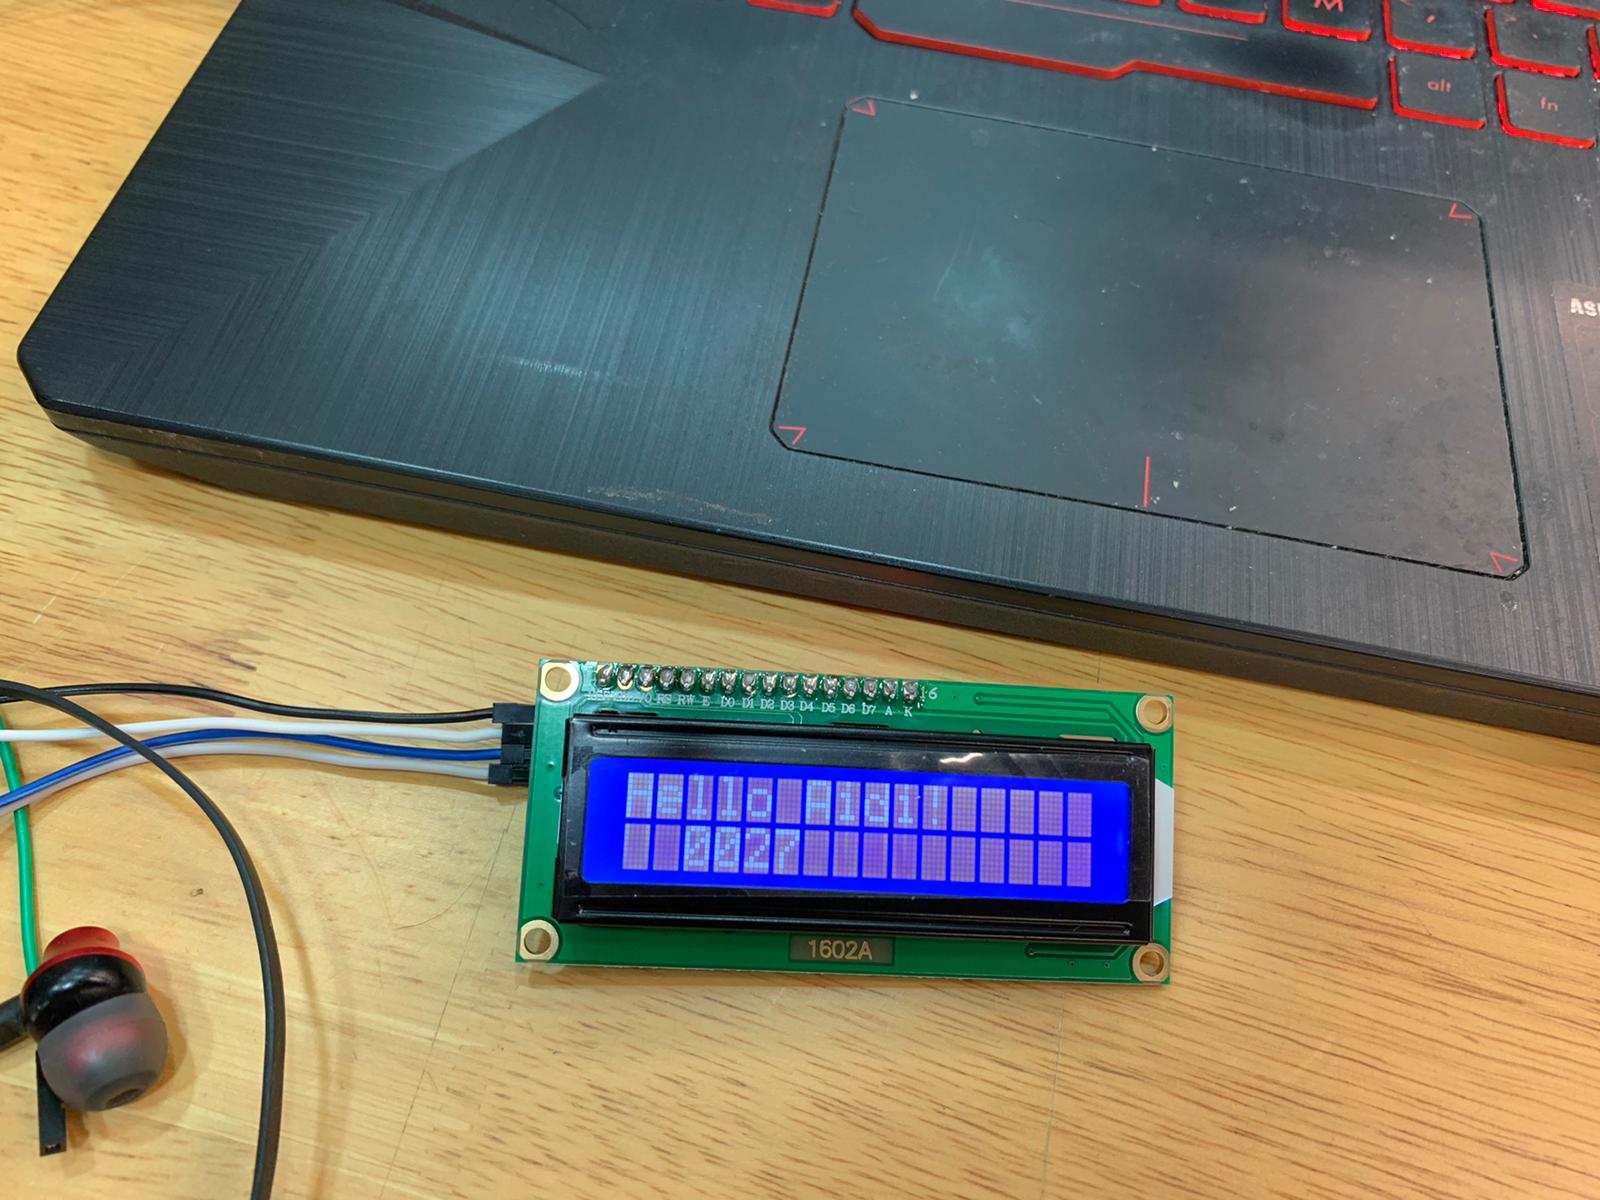
In this exercise, I manage to do a print of LCD which display my name and a countdown for extra. Above picture are the codes that i used to produce this work. It is quite simple as it uses I2C which has been soldered to the LCD. I am going to use this LCD concept for my final project. For my final project, I have made a link with the other navigation stating "Final Project".
For the tutorial, you can press here.
In this code, I have used the LiquidCrystal library. As you will see, you need quite a lot of connections to control these displays. I therefore like to use them with an I2C interface module mounted on the back. With this I2C module, you only need two connections to control the LCD. The LCD itself has 16 connection pins, numbered 1-16 from left to right. After you have wired up the LCD, you will need to adjust the contrast of the display. This is done by turning the 10 kΩ potentiometer clockwise or counterclockwise.
Team Project
My team have their individual task to do. Some of them are doing overhaul, infill and so on. As for me, I will be doing bridging test.Bridging is a term that refers to plastic that needs to be extruded between two points without any support from below. For larger bridges, you may need to add support structures, but short bridges can typically be printed without any supports to save material and print time. When you are bridging between two points, the plastic will be extruded across the gap and then quickly cooled to create a solid connection. To get the best bridging results, you will need to make sure that your printer is properly calibrated with the best settings for these special segments. If you notice sagging, drooping, or gaps between the extruded segments, you may need to adjust your settings for the best results.
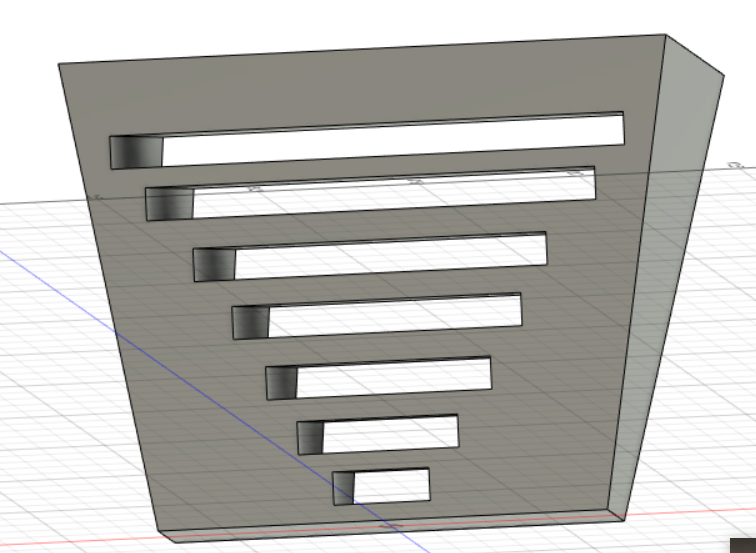
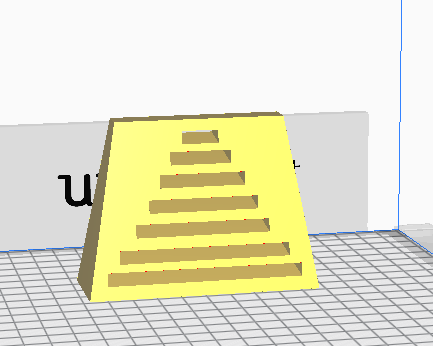
As for me, I will be doing Bridging Test for my part as this team project.
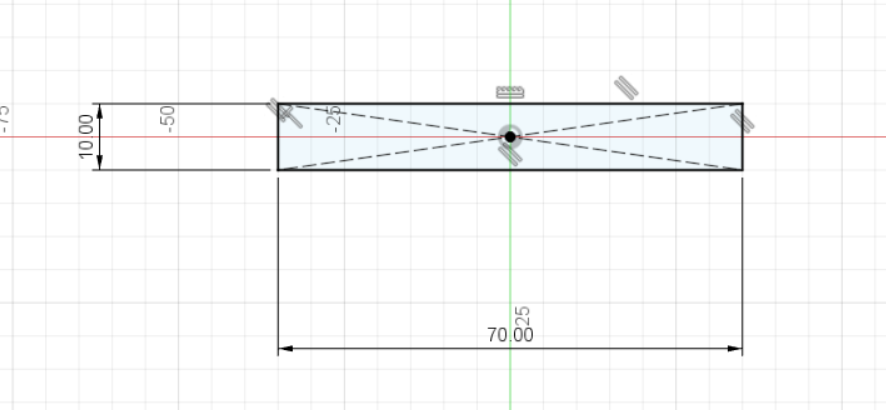
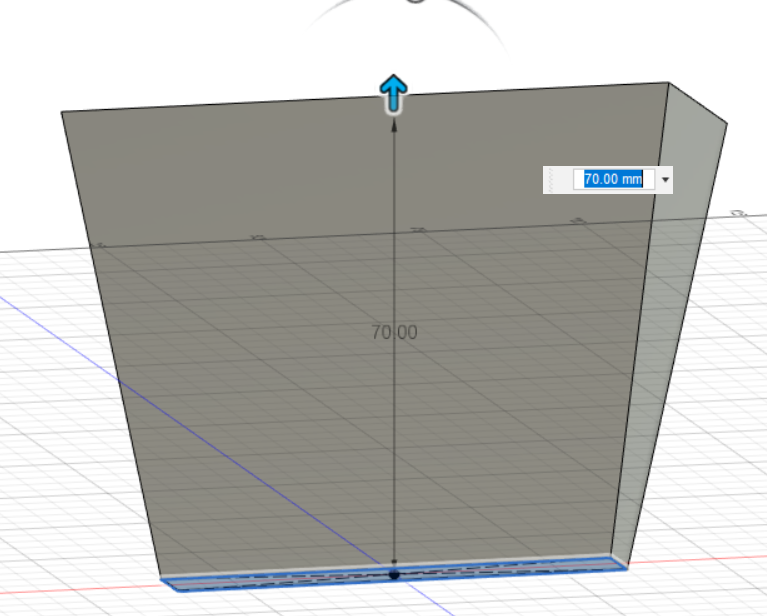
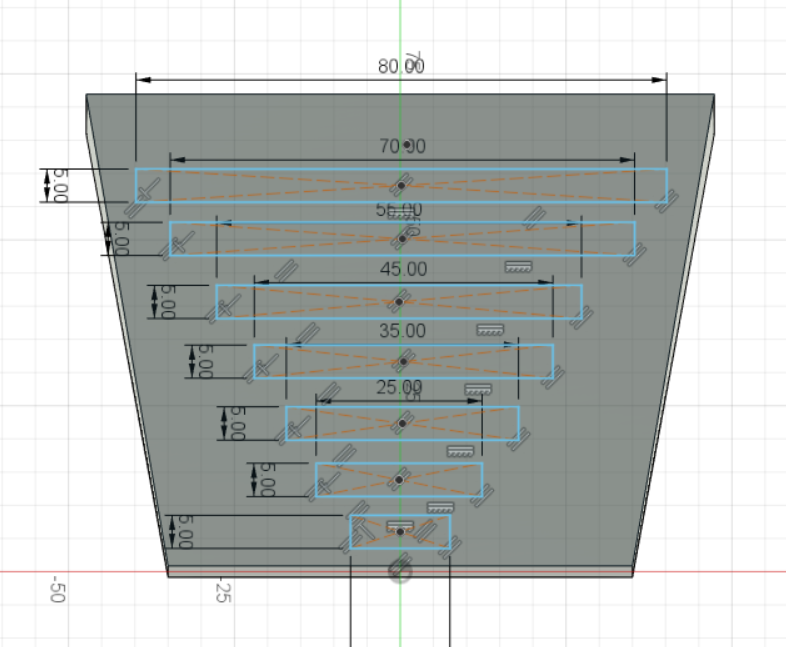
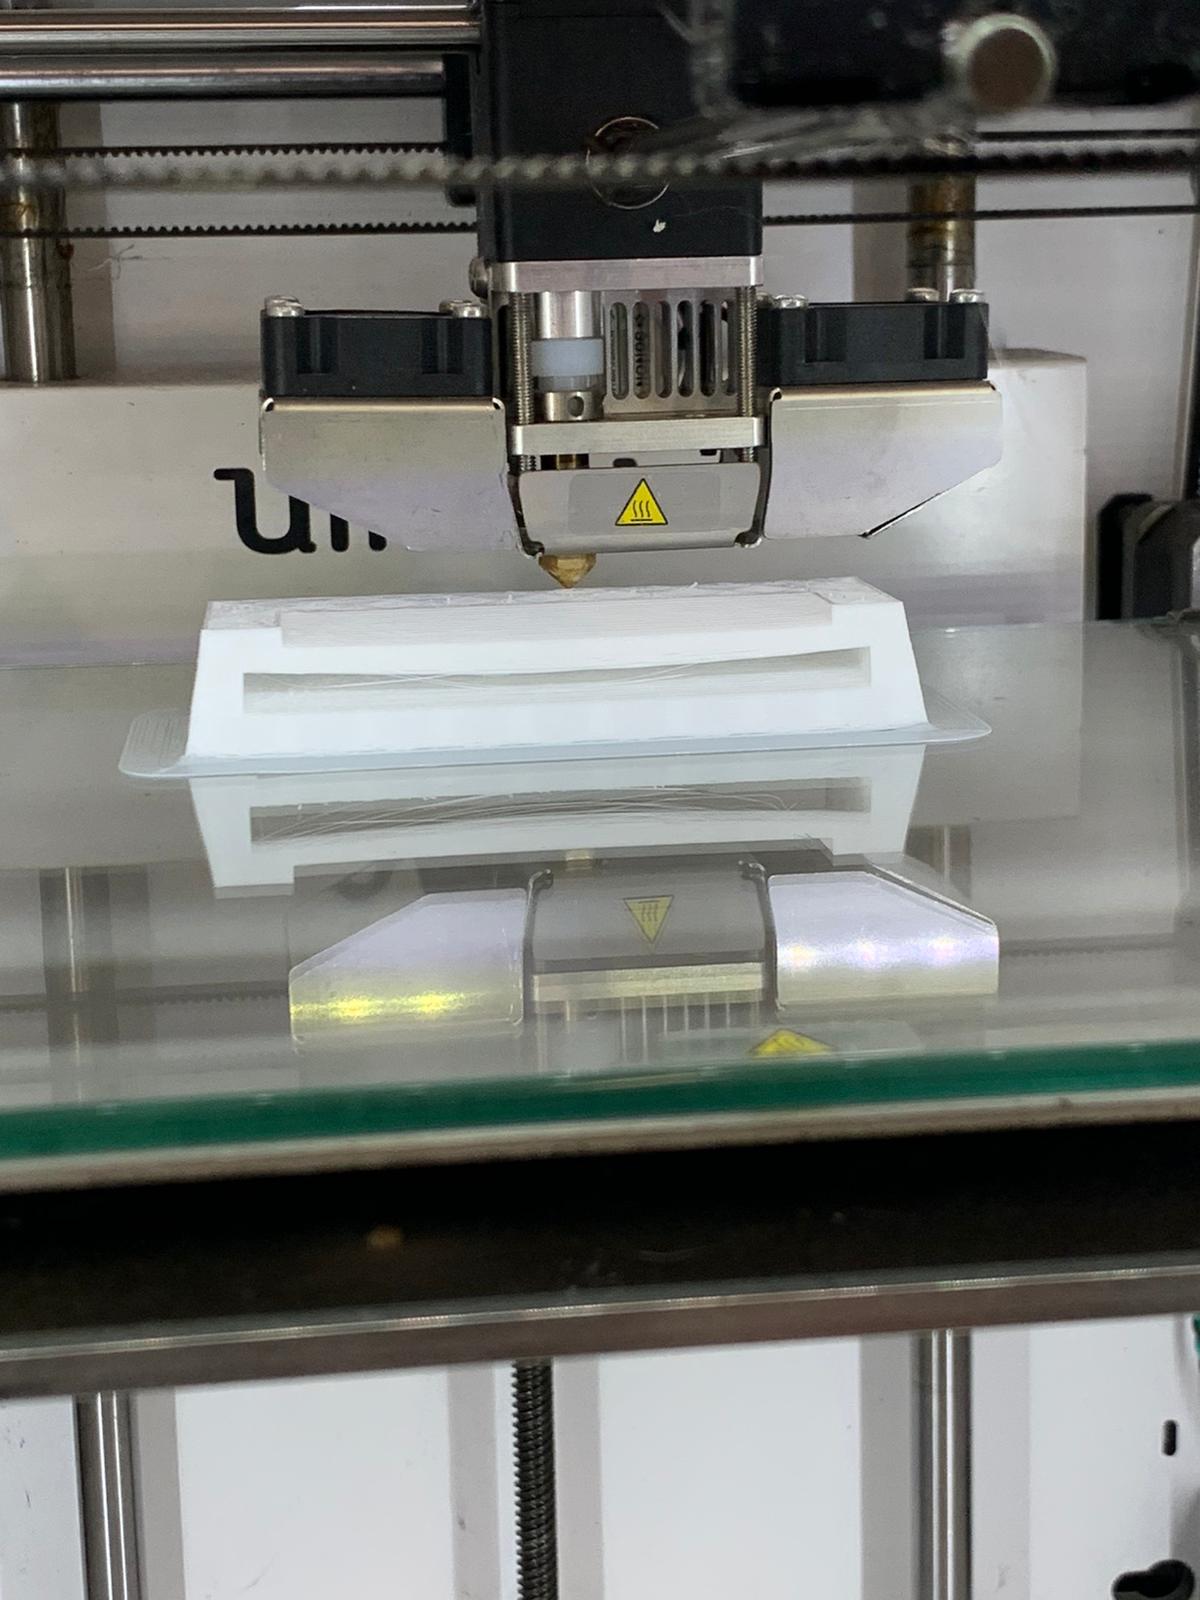
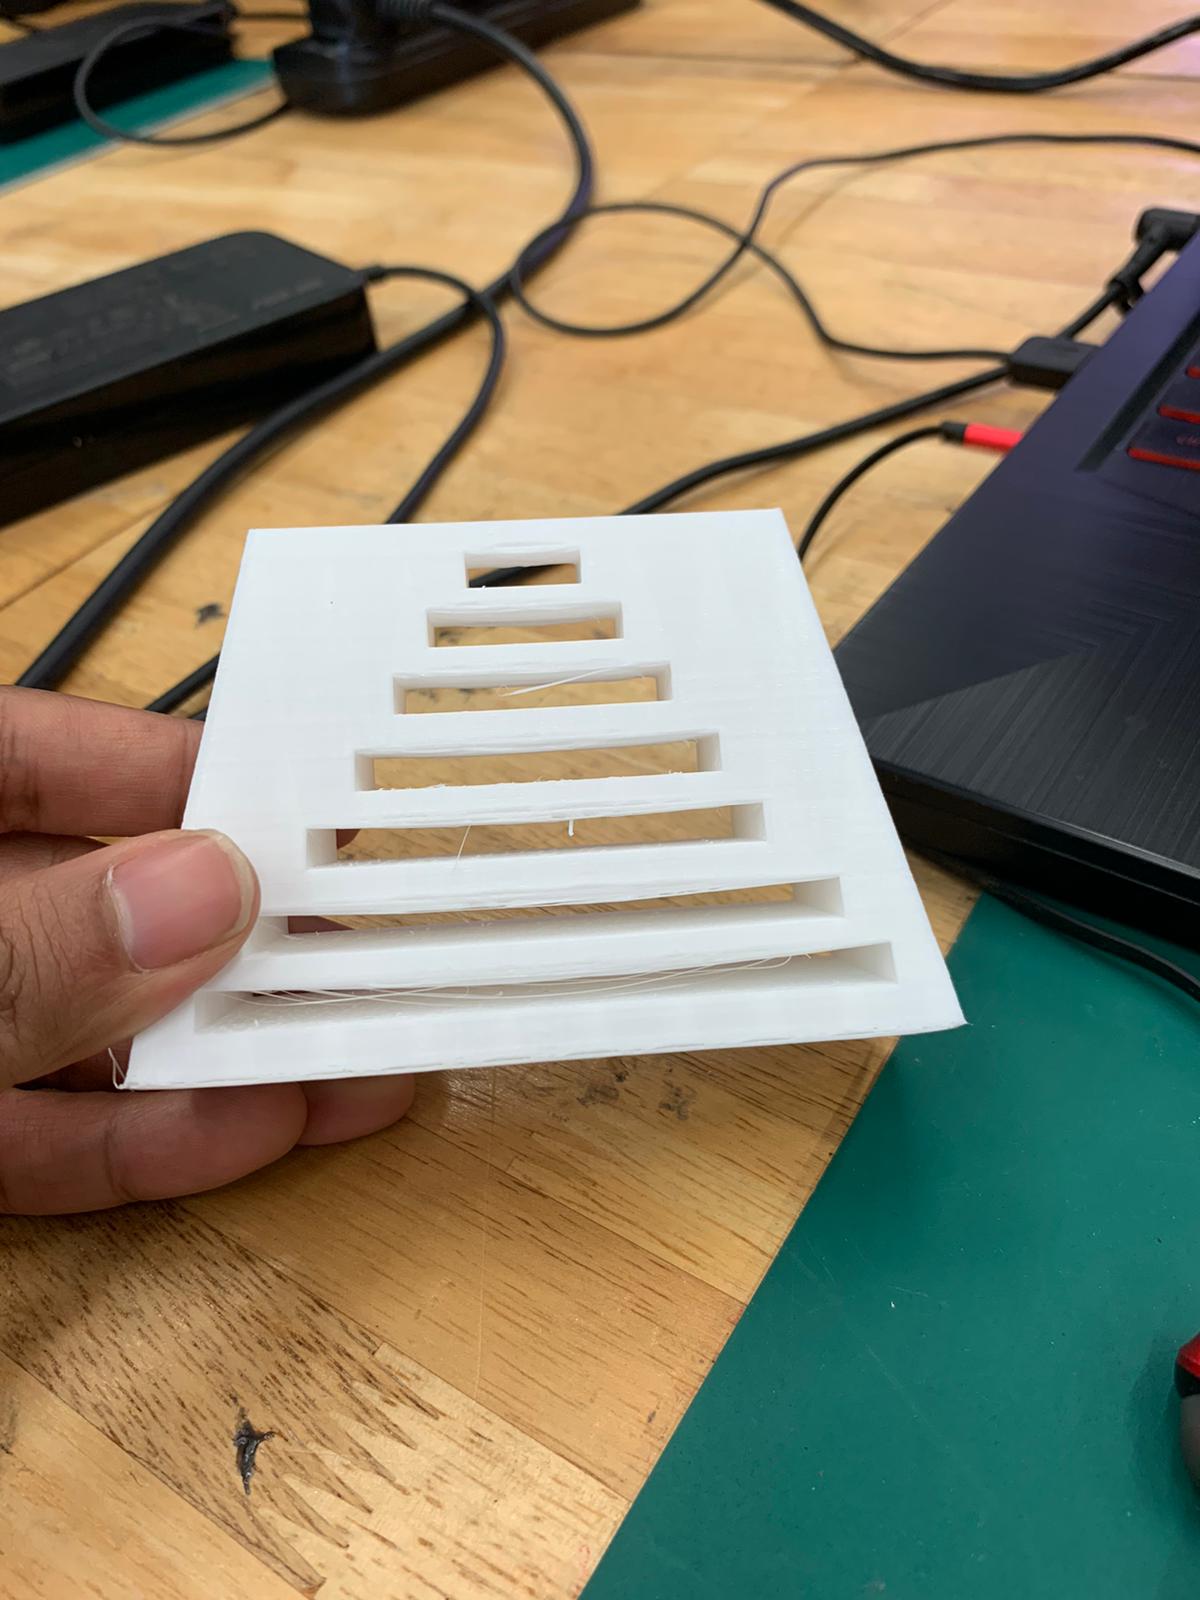
These are the steps that I did during my bridging process.
Groups
For my group we each have individual thing to complete. I did bridging, Gabriel did overhand , Rachel did infill and Khairin did text size. Here are the links so their website.Gabriel (look right at the bottom page, Overhand)
Rachel (its under my 3d printing page all the way at the bottom)